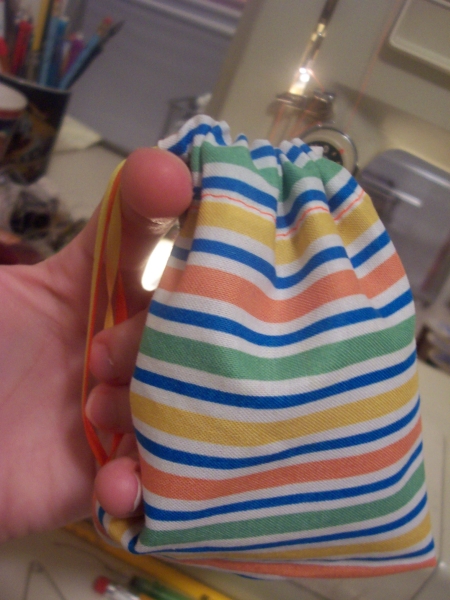
Backpack
These drawstring backpacks are popular in middle schools.
The only reason this is an intermediate project is that the next to last step drove me nuts. Otherwise, it's really simple.
You need:
Cloth -- Cotton works peachy, but in real life, these are usually
made from nylon.
Cord or ribbon -- Whatever you can get your grubby mitts on. Yarn
will work in a pinch. You'll need two strands about a foot long.
Sewing supplies -- Needle, thread, scissors, whatever.
Cut a rectangle of cloth. The exact measurements don't matter THAT much, honestly. I can't remember what I used. About the size of a piece of notebook paper is good.
Put the cloth so that the long sides point to you. Press a casing into the corners of the long sides. It will be awkward and look funny, don't worry. Stitch it down.
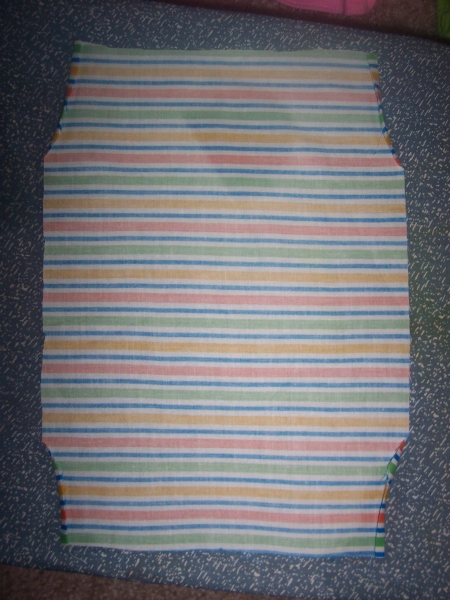
Press a casing into the short sides. Stitch them down.
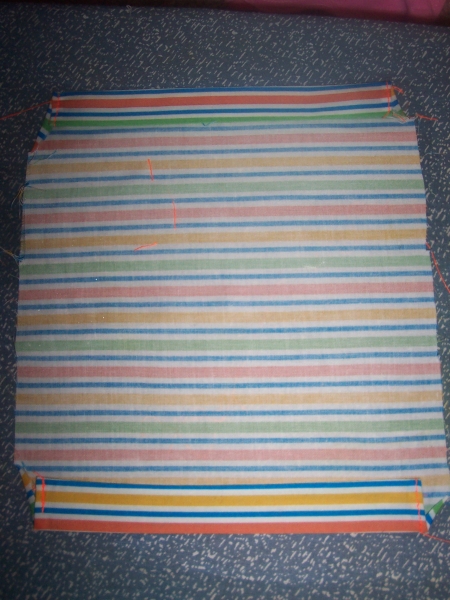
Fold it so that the casings meet. Pin BOTH STRANDS (yes, you MUST use two!) of your ribbon or cord to the bottom corner. Stitch from the bottom corner to the casing. Do NOT stitch the casing shut.
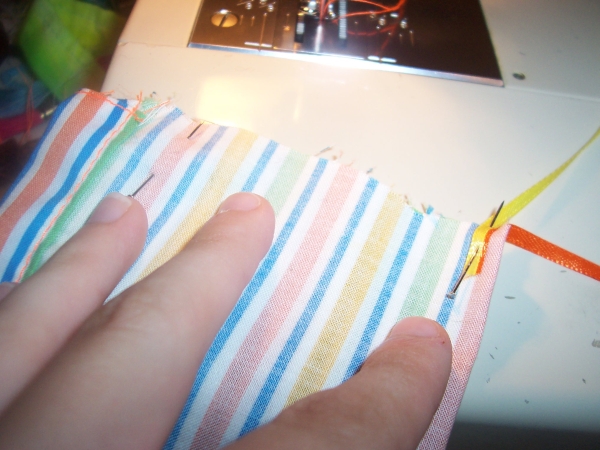
This part is aggravating for serious.
Run one ribbon through one edge's casing, then one ribbon through the other edge's casing. Now, pin the ribbons to the bottom corner of the other side. HOWEVER, when you stitch this side up from the bottom corner to the casing, you MUST MAKE SURE that the ribbons don't slip into the seam and get stitched down! You'll likely have to hold them back some how. Me? I did it by luck.
And oh yeah, the back pack's gonna pull on itself and not want to let you keep the ribbons in one place. Awesome!
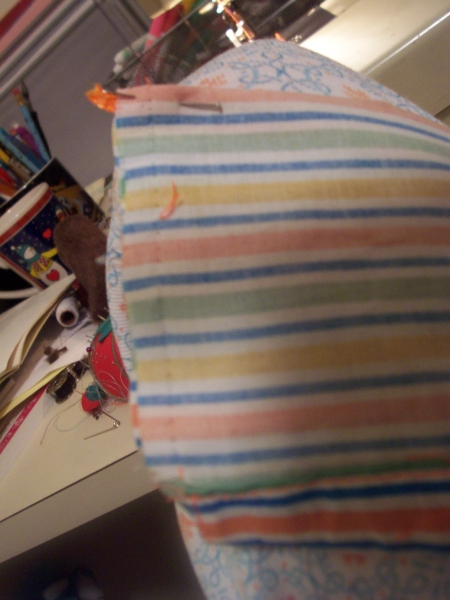
This picture sucks because you can't see what's going on inside the back pack. See the seam, though? The ribbons can only touch that seam at the corner.
Turn it inside out. If you did it right, you should have a pretty swank drawstring backpack. When you put it on your doll, it will look better if you stick something in it to weigh it down. I suggest loose change.