Pressed Hems
Hemming your sewing is very important! When you hem, you're sealing up the raw edge of your fabric, which protects it from fraying, ravelling, and otherwise looking nasty and getting destroyed. You should always hem the edges of your work.
Pressed hems are for straight edges, like the end of sleeves and the bottoms of skirts. If you don't have a serger, you need to be doing pressed hems. (If you don't know what a serger is, you don't have one.)
First, take your cloth to your ironing board. Press the wrinkles out.
Now, we need to press the cloth so it has a more permanent crease in it. Wet the cloth. Wet it a LOT. Wetting it does two things -- first of all, when you press it, the crease will be flatter and more permanent. Second, you can make it stick to itself so you don't have to iron it while you try to hold it down. Trust me, I'm saving you some burned fingers with this step.
If your cloth is wet enough, it should stick to itself. Turn the cloth down just a tiny bit, then put a pressing cloth over it and press.
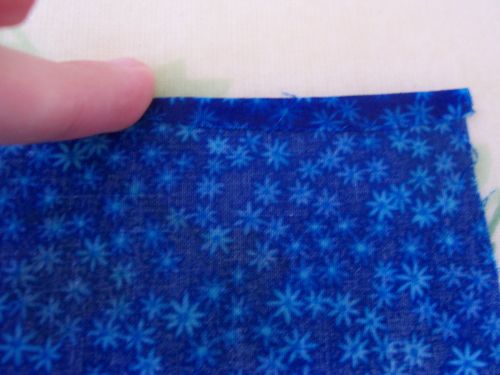
Press it until it's dry, then wet it again. Turn the cloth down a second time and press it until it's dry.

Take it to your machine and sew it. A straight stitch will do.
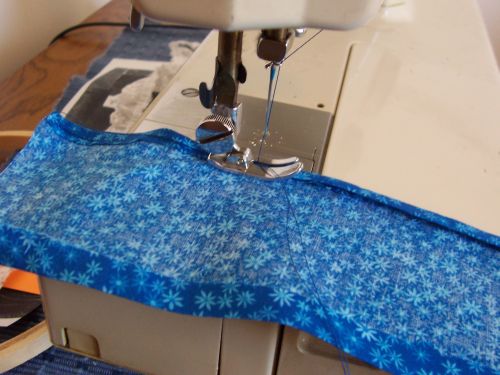
Make sure you catch all the layers of fabric.
There you are! Go on to the next step with your hem!
Hey, still lost? Here's a video: