Button Down Shirt
Oh snap! Your doll has to attend a state dinner tonight and she doesn't have anything schmancy to wear! It's cool, we can get her a button down shirt to wear. Also handy if your doll wants to go as Al Borland on Halloween.
You'll need:
 Cloth -- Nearly anything could work, but put ten
seconds of consideration int what the final product will look like before
grabbing your huge print floral quilting cotton.
Cloth -- Nearly anything could work, but put ten
seconds of consideration int what the final product will look like before
grabbing your huge print floral quilting cotton.
Buttons -- The thing's got to close, right?
Vylene -- Also known as -- ! See below.
Sewing supplies -- Thread, needle, scissors, machine
if you want it.
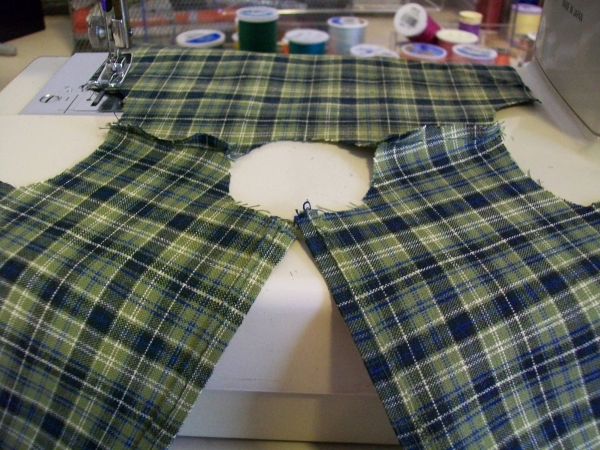
The Doll's Dressmaker (which is a book you own, right?) has a half decent button down shirt pattern. You can make one yourself from your bodice pattern, if you like -- just cut one plain bodice to serve as the back and cut two half bodices with long sides to serve as the front. It's like we're making a backwards shirt. I don't use Dressmaker's shirt sleeves, instead just sticking in my own straight sleeve pattern.
Cut one back, two fronts, two sleeves, and cut two rectangles slightly wider than the sleeves and about an inch and a half long. Hold off on cutting out that collar.
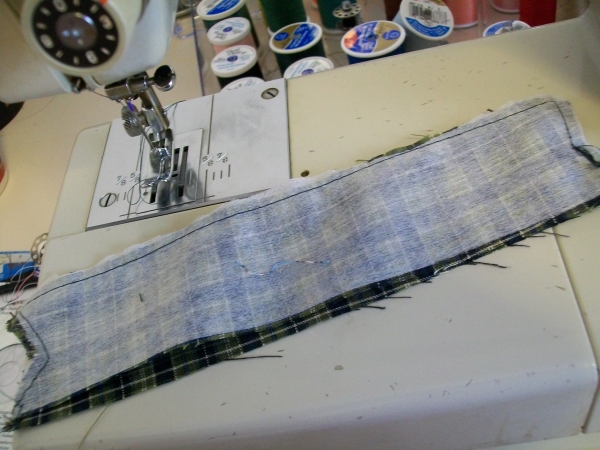
At your ironing board, iron your rectangles (which will soon be cuffs) so that all the sides are down.
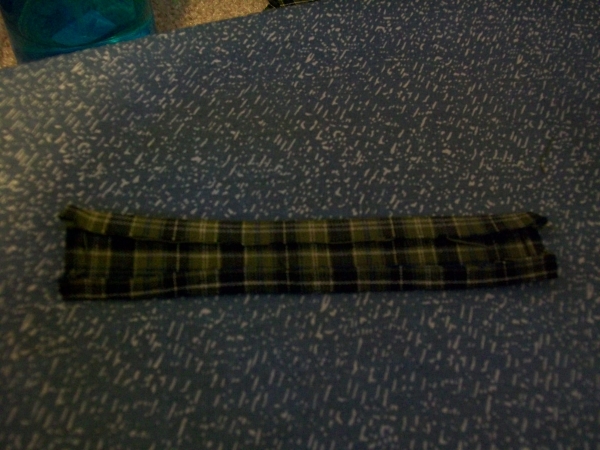
Press in half like a hot dog.
While we're at it, go ahead and press down the inner sides of the two front pieces. May as well finish them now instead of later.

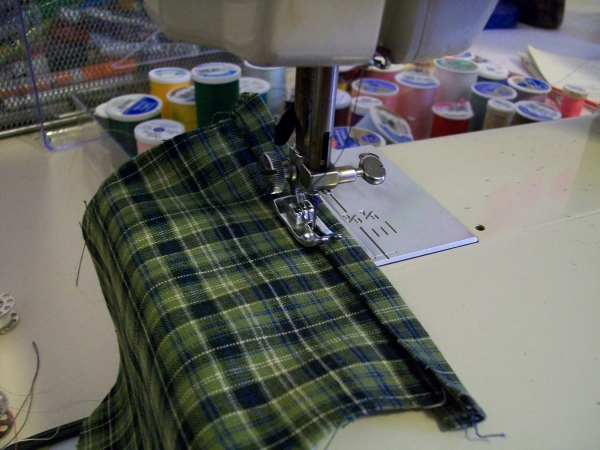
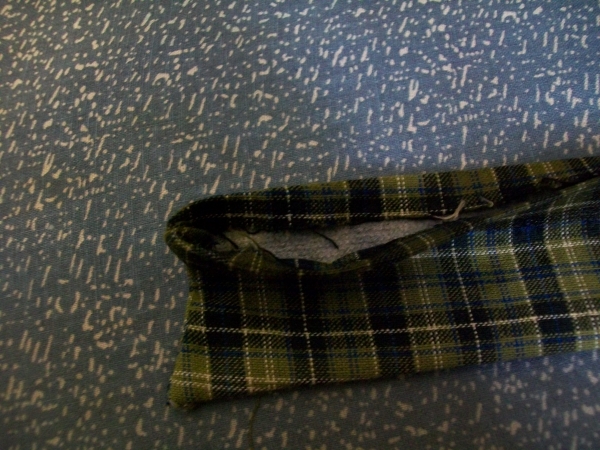
To put the cuffs in, fit them on the end of the sleeves and sew them down.
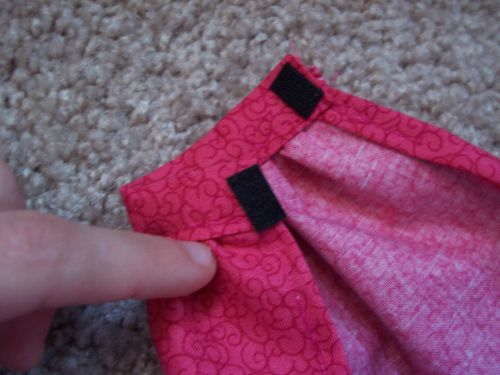
Add some velcro, one square to the inside and one to the outside, and stitch it down. The technique is identical to making Kirsten's sleeves, so much so that I can steal a picture from that tutorial and no one will call me on it.
Sew the shoulder seams in, just like a normal shirt.
Go ahead and put the sleeves in, then zip up the side seams. Hey, that just about looks like a shirt! What was so hard about --
Ladies and gentlemen, the collar.
It took me quite a while to figure the collar out, mostly because I was getting my directions from Dressmaker. Which isn't actually a bad thing! There's two things about the book that don't work exactly, though. One is the collar pattern for the button down shirt. It's way too short. So, here's what you're going to do. First, measure how tall the Dressmaker collar pattern is. It's somewhere in the neighborhood of an inch and a half, for those of us without the book. Now, trace the pattern and cut it out, but don't use it yet.
Prepare to cut two rectangles. They should be the height of the collar pattern, but the length of the raw edge on the top of the shirt where your doll's neck would go.
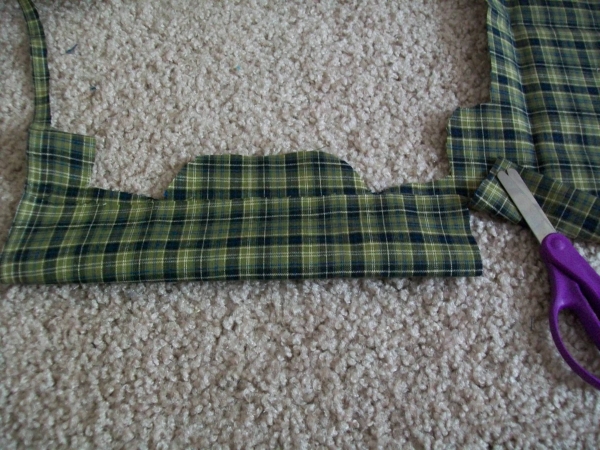
Now, take the collar pattern and lay it on one end. Pin it down, then cut the shape.
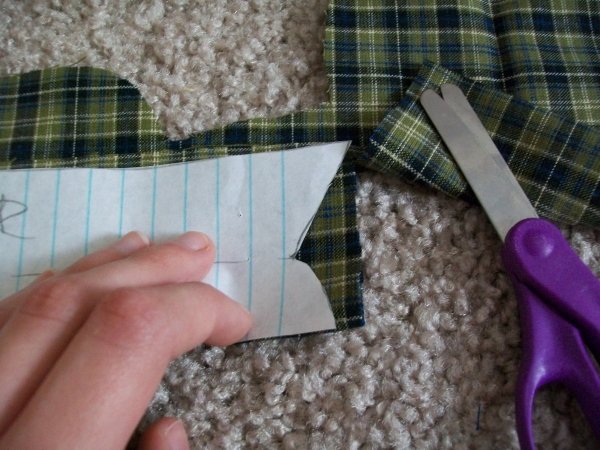
Unpin, scoot it to the other end, cut the shape, then cut the rest of the collar out. You should wind up with two.
Second Dressmaker concern: what the hell is vylene? The book kept talking about stiffening the collar with vylene, but I couldn't figure out what it was. No one I knew knew what vylene was, either. Google is minimal help. Furthermore, being from the American south, I'm almost positive I'm pronouncing it wrong.
I hope the British are laughing at me. I'm about 99% sure that vylene across the pond translates to this in the states:
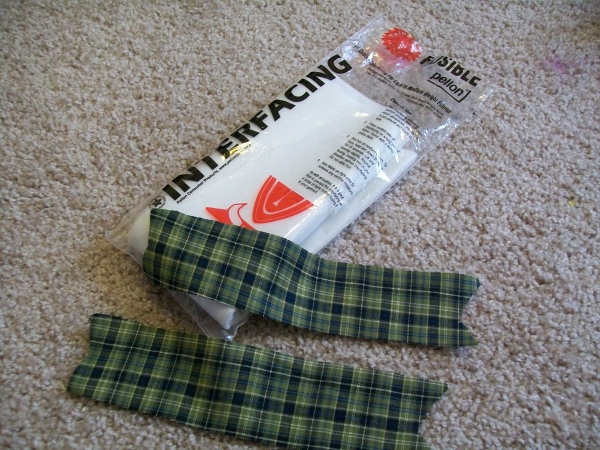
What up, interfacing. Follow the directions on your package, then rejoin us in a moment.
Specifically, you should probably rejoin us when you've got the stuff ironed on to one collar. Sew the two collars together, right sides together, interfacing out.
Turn it, then tuck the bottom edge in. You might press it, too.
Take your shirt and stick the neckline up in the collar.
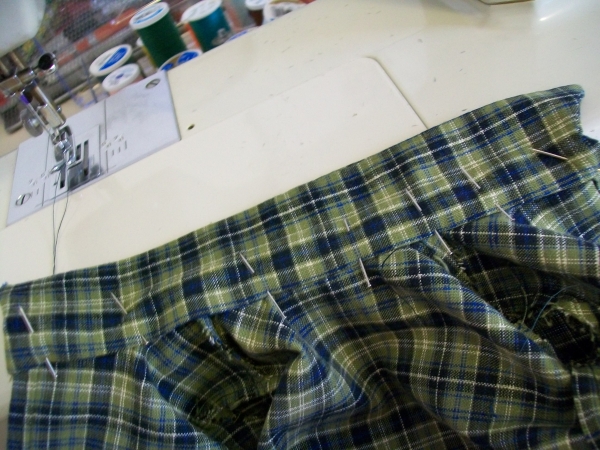
Sew it in right along the edge in one big swoop.
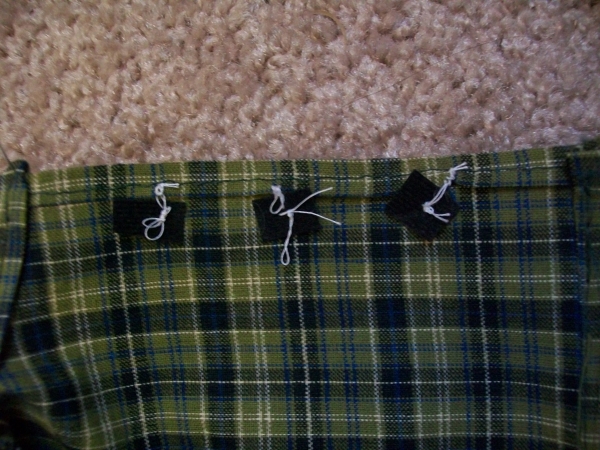
Now, closing. We could do button holes, or we could cheat with velcro. On one side of the shirt, sew a strip of velcro.
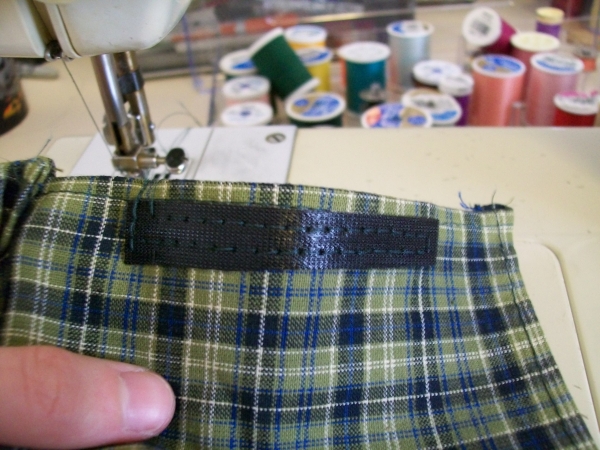
On the other side, sew some buttons, but hold small squares of velcro. You get this on the front:
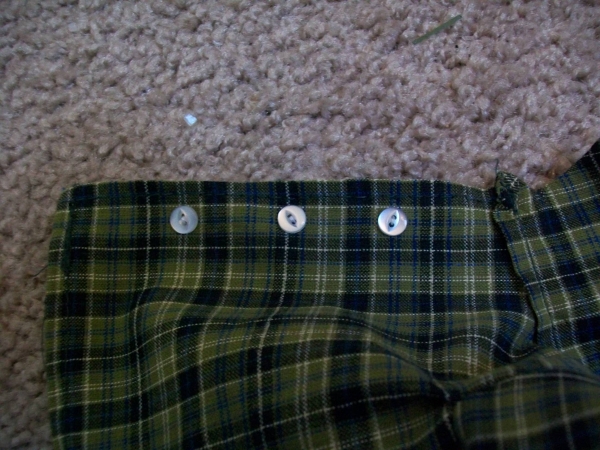
And this on the back!