Doll Quilt Guide
This was requested by my dear friend Jabberwockypie perhaps a million years ago. As such, I have decided that this site shall benefit from her request.
These are not directions for a complex quilt. When I designed this, I was aiming for making something Nellie's mom might have sewn in between factory shifts. You can make up whatever story you want for your quilt. This block pattern is about the easiest block quilt you'll do.
You'll need:
 Cloth. Duh. At least four contrasting sorts of
cloth is ideal -- more cloth is even more ideal. I used five for this quilt.
I recommend that you at least vaguely stick to a theme or color scheme, but
remember that if you're making a historical quilt, most people wouldn't have
cared if their quilt pieces matched. Also, you'll need a larger amount of
cloth for the backing. The amount depends on the size of the quilt.
Cloth. Duh. At least four contrasting sorts of
cloth is ideal -- more cloth is even more ideal. I used five for this quilt.
I recommend that you at least vaguely stick to a theme or color scheme, but
remember that if you're making a historical quilt, most people wouldn't have
cared if their quilt pieces matched. Also, you'll need a larger amount of
cloth for the backing. The amount depends on the size of the quilt.
Sewing supplies. Needle, thread, machine -- whatever
you use to sew. I recommend using a sewing machine since it will be faster
and easier, but there is an optional step that you will wind up doing by
hand.
Paper, a good pen or pencil. You'll need this to
take part in my anal retentive planning sages.
Post its, or other square scraps of paper. You'll
see why. I'm not lying when I say I'm the most anal quilt maker ever.
The overall plan of this quilt is to arrange the squares you're about to cut into a larger square. You're going to have an easier time if you do this on paper before you begin.
Decide how many squares long by how many squares wide you want your quilt to be. Here's some hints: the more squares you use, the smaller your pieces will need to be. Also, you will have a much easier time if you pick an overall square number (say, six by six squares for 36 total squares). You'll have the easiest time working in multiples of four. (Eight by eight squares for 64 squares works really well.)
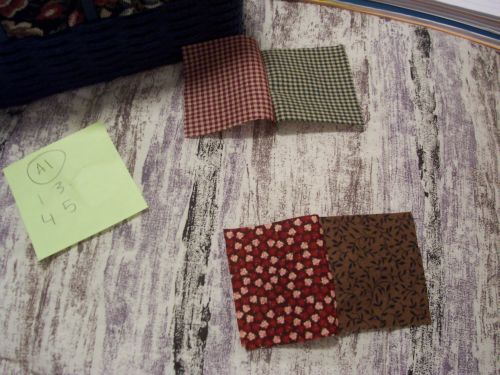
Now, assign each color of cloth you have a number. Red is one, pokadot is two, flowers is three, whatever. Make a grid of your quilt, making it the same number of squares wide and tall as your quilt. Now, in each square on your grid, write the number of the cloth where you want that cloth color to go.
Lost? Read it again a time or two, and look at my grid:
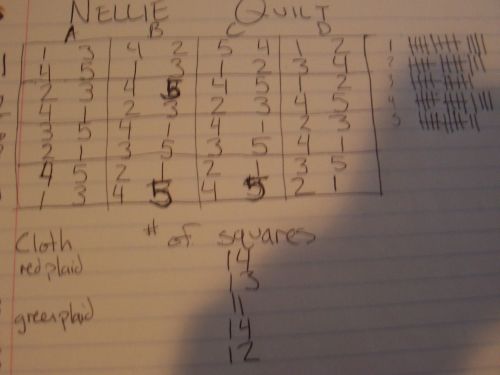
See? I decided my red plaid cloth was 1, and put a 1 wherever I wanted my red plaid cloth. Green plaid was 3, so on.
I decided to put mine in a random order. I think I tried not to have similar colors touching each other, as well. If you want yours in a pattern, go for it.
Look at my grid again. See how I divided it up, with letters along the top row and numbers along the side? You need to divide yours up like that too, working the hardest you can to get everything into blocks of four. Then label your grid, like mine, with letters at the top and numbers at the side. That way, you can look at each block and give it a name (such as B3 -- column B, row 3) as well as know exactly where it goes in the quilt.
Anyway, count your numbers, so you know how many of each color you'll need. Do a tally like I did.
Take a moment to figure out how big each square should be. They're squares, so they'll be the same on each side. Your quilt should be at least 15 or 17 or so inches long, so as to cover your doll. It can be bigger, though. So, divide how long you want your quilt by how many squares you have. Then, add between a quarter to a half inch (depending on how you sew) for your seam allowance. That's how long each individual square should be cut on each side.
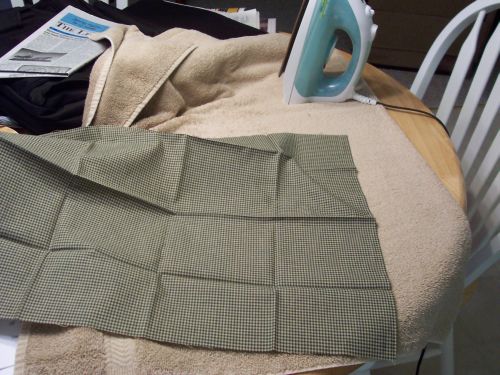
Now, gather your cloth. Press it if you must.
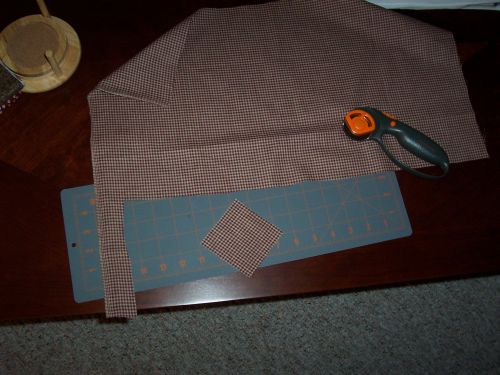
Start cutting your squares. I used a rotary cutter just because I'd just gotten it and wanted to play with it. Go fig. You can get along perfectly well with scissors if you like.
Your first instinct, when you get your squares cut, will be to sew them together in strips. No. Don't. We're going to sew them together in blocks instead. It might take a little more brain work, but your quilt will come out straighter and neater.
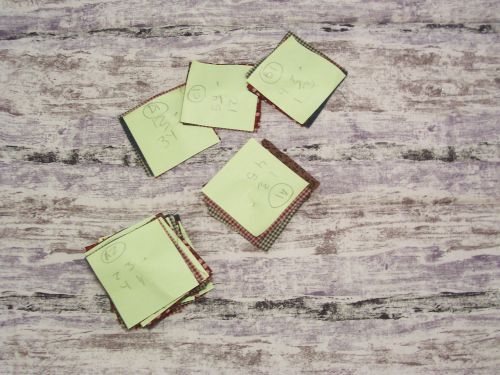
Remember earlier how we used the grid to make blocks we could identify? B3, C1, A4, so forth? Organize your squares into those blocks and pin them together. Label them using the scrap paper or post it notes.
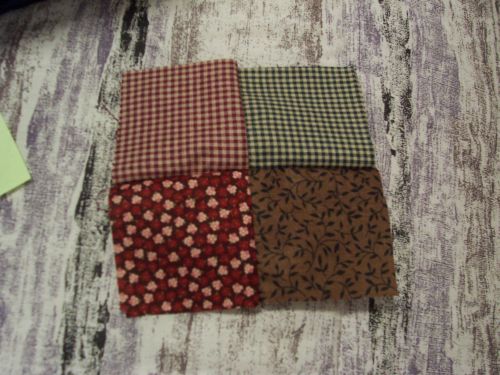
To sew a block together, first, sew the top left square to the top right square, then sew the bottom left square to the bottom right.
Sew them together.
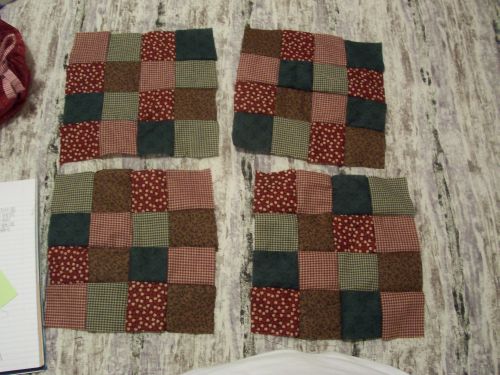
When you have four blocks ...
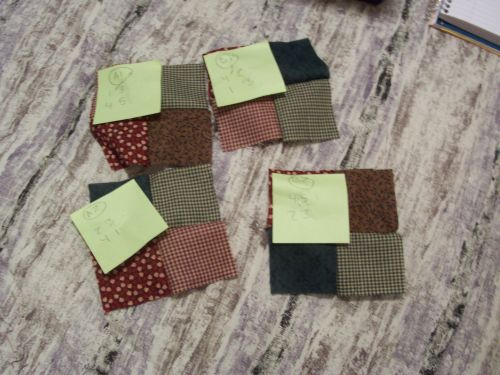
Join them to make a big block. Make sure to refer to your grid so you don't turn anything around!
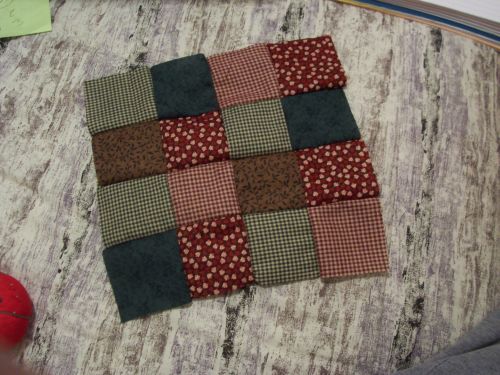
Keep going with those big blocks. When they're all done ...
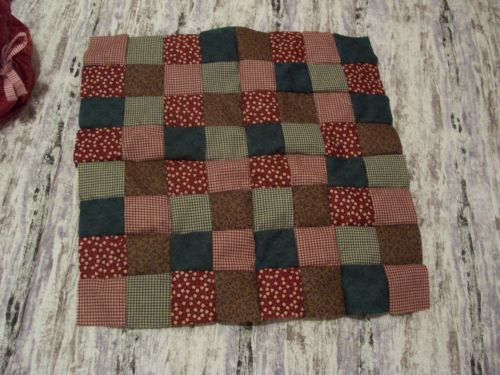
Sew them together to finish the top of the quilt.
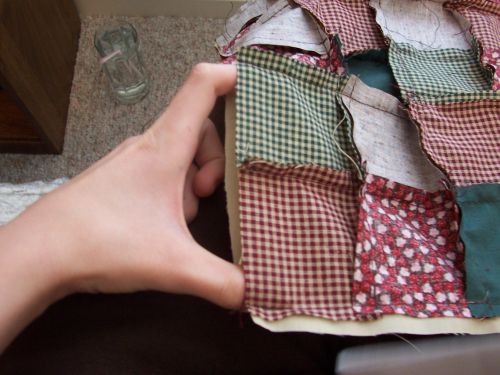
Now, lay your quilt right side down on whatever you plan to back it with. (For a human quilt, this is where we'd add batting, but for a doll, batting would make the quilt more like a pillow.)
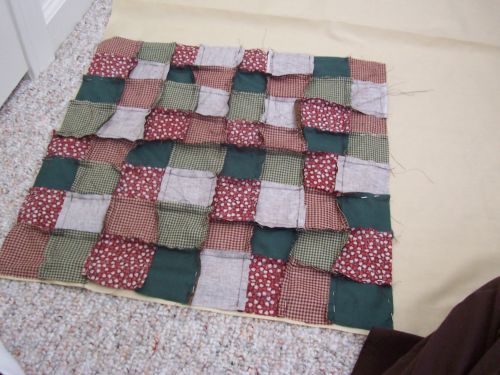
Cut out the batting to be the same size as the top of your quilt.
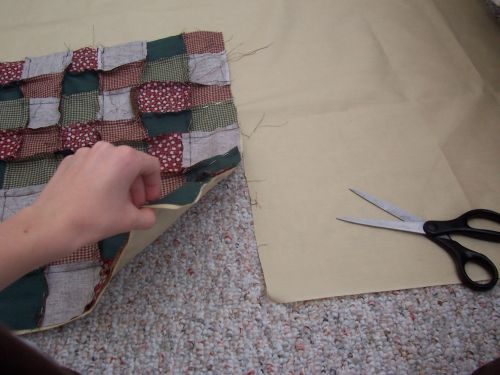
Sew the quilt with the top facing down, leaving a hole so you can turn.
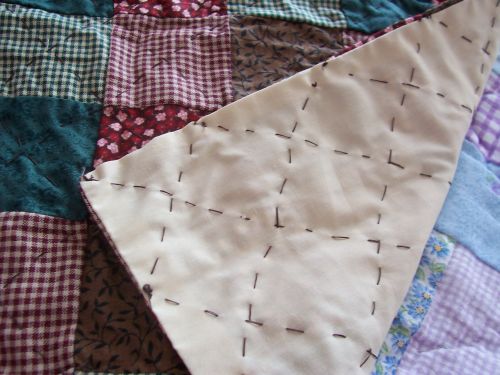
Turn it. I blind stitched my quilt shut, but there are other ways to shut it. I think most people would prefer fusion web or tape because it's faster. Since I can't find a good page on Google to link you to, blind stitching is a method of stitching where you stitch down inside a hem so that the thread doesn't show. A picture:
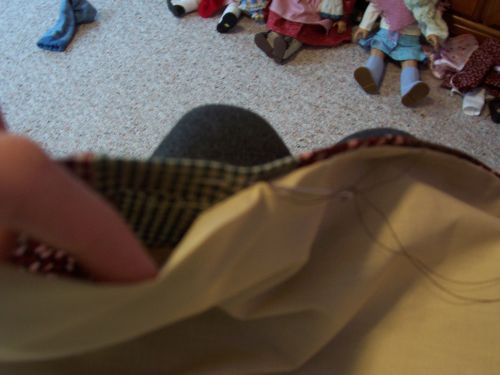
This is blind stitching by hand. There is a machine one, but I wouldn't bother for a tiny project like this.
Ahem, our finished project:
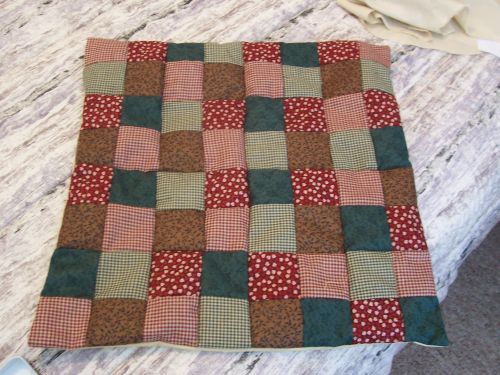
You may want to press it and call it done. This next step is optional, but it will make your quilt look more professional, and, if you're aiming for it, historically accurate
There are two ways to finish a quilt -- tying it off and actually quilting it. Tying it off is easier, and, oddly enough, it's the method I'm not as familiar with. Everyone in my family always quilts, and I come from a big family of quilters. Therefore, we will quilt.
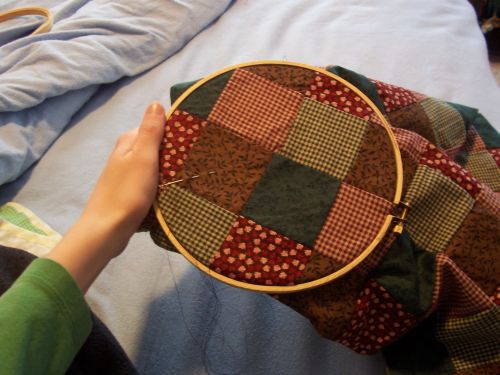
You don't have to have your quilt up in a hoop, I just have it in one for funsies. Truthfully, I quilted half on the hoop and half without. Whatever feels easiest to you.
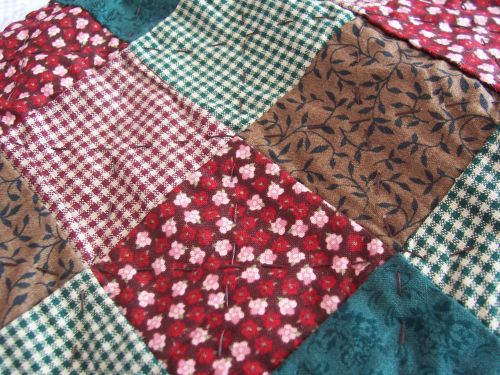
Quilting is, in effect, stitching the top to the back. It makes more sense to do it when you've added batting, but since we didn't add batting, we're just doing it for show. The only real rule to quilting is to use a basic quilt stitch (sometimes called a baste stitch ... seriously, it's just a big in-out-in-out stitch) and come up with some kind of design. You can do squares inside each square for example, or hearts or circles if you're feeling fancy. I stitched a diagonal line across each of my squares, making an X in each square.
See what I mean:
Here's the finished product!

And now, I give the quilt to Nellie.
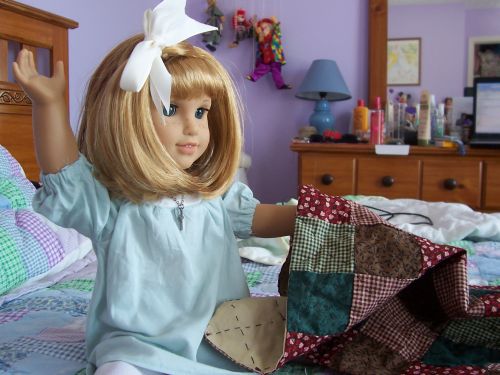
See? Warm, practical, and perfectly comfortable. Right, Nellie?
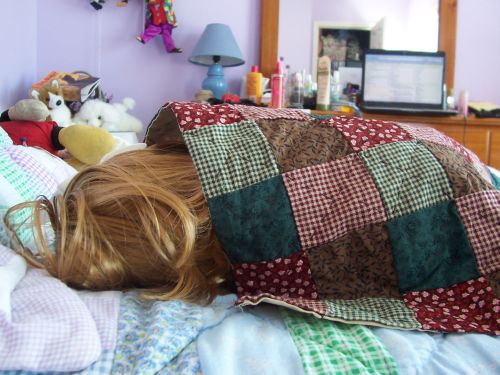
.....
Nellie?