Kirsten's Dress
But what dress, you say? What dress are we sewing?
Let's be honest with each other. This is something you know is true, even if no one likes to say it out loud. Kirsten's my girl and all, but all of her dresses? They're the same. They're the same. Don't argue with me. The school dress is made from the same pattern the meet dress is, the birthday dress is the meet dress with a pinafore and short sleeves, the work dress is the meet dress with straight sleeves and an oddball ruffle and collar ... we could keep going, but must we?
So really, yes, this article is just on how to sew Kirsten's dress. Period. If you learn to do this, you can learn to do all the variations. If you remember to keep making it with different cloth, then people will think you're being creative and making a totally different dress every time.
Don't look at me like that. It worked pretty well for American Girl.
You do not need the pattern for Kirsten's School Dress. I'd actually prefer you didn't use it -- we're going to stream line a few things that Pleasant Company did.
You'll need:
 Cotton calico cloth -- At least a half yard. Try
not to buy those fat quarters unless you're really feeling like making things
hard on yourself. Also, try to buy something historically accurate -- small
prints with flowers, simple designs, checks or stripes work well.
Cotton calico cloth -- At least a half yard. Try
not to buy those fat quarters unless you're really feeling like making things
hard on yourself. Also, try to buy something historically accurate -- small
prints with flowers, simple designs, checks or stripes work well.
A doll bodice and full sleeve pattern -- These
are in Doll's Dressmaker by Venus Dodge, which is a book you should
own if you have any sewing inclination whatsoever. You can buy a craft store
pattern if you want to, but please don't buy Simplicity. Simplicity patterns
usually don't fit together.
Sewing supplies -- Needle, thread, scissors, so
forth. Also, save your sanity: use a sewing machine.
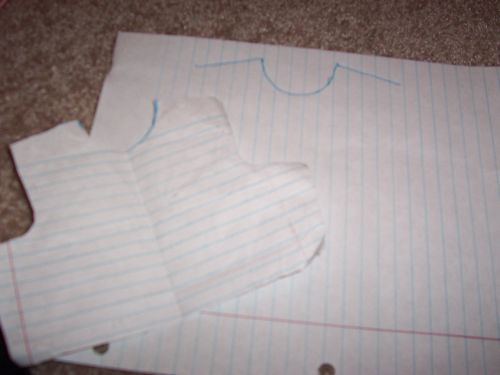
Take a pre-existing bodice pattern that you already know works, and copy it to another piece of paper. You can use a photocopier, or be cheap like me and just trace. Right now, we're just concerned with the neck and shoulders.
Kirsten's dresses have something called dropped sleeves, which more or less means that the shoulder seam is longer than usual. Actually, a bodice with true dropped sleeves would be square, but I notice American Girl cheats and just lengthens the shoulder seam so we will too. Using a ruler and a marker, extend the shoulders on both sides by a good inch.
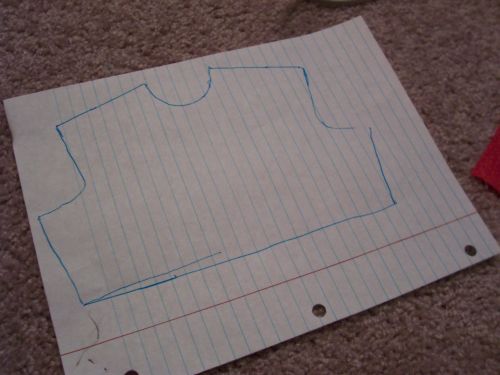
Now, draw or trace in the rest of the bodice, including the arm holes and sides. You get something similar to this. Cut it out.
Cut the following out of your cloth:
One bodice
Two back pieces
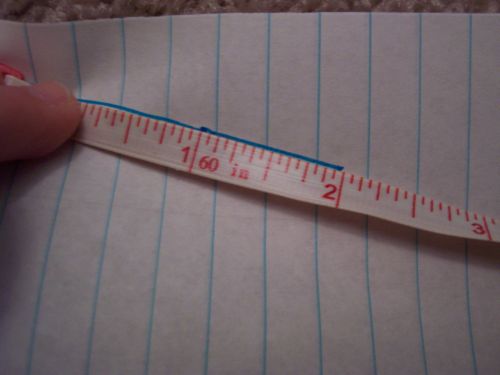
One skirt (one rectangle measuring about 8.5 inches by 30 inches -- this
is a good measurement for one or two groth stripes, but feel free to make
it longer and add more stripes)
One waist band (about 1.5 inches by your doll's waist measurement + 2 or
3 inches)
Two full sleeves
Two sleeve cuffs (about 3 inches by your doll's wrist measurement + 1 inch)
We'll make the sleeves first.
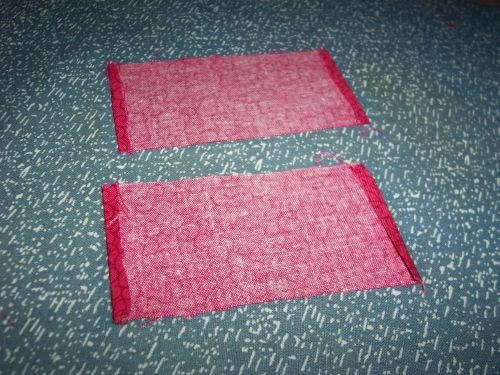
Take the cuffs and press the short edges down.
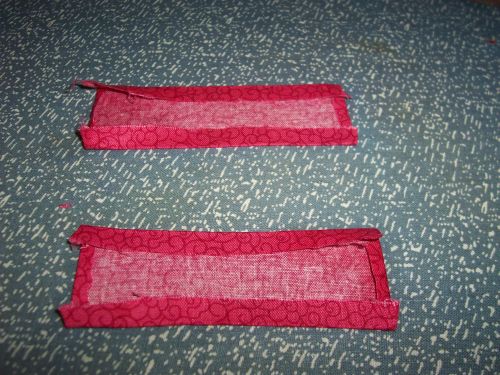
Now press the long edges down.
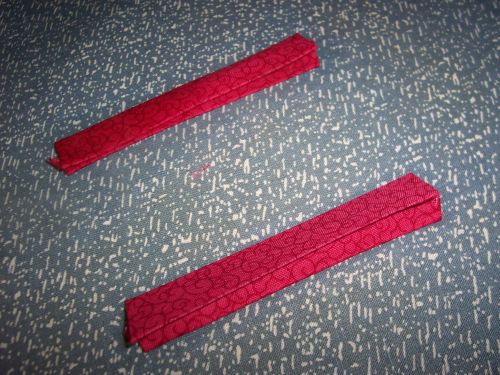
Press them in half.
Turn the EDGE of each sleeve in twice, as if to hem it, then stitch that down. Give yourself a seam at least an inch and a half long. Gather the edge of your sleeve and insert it into one cuff. Stitch it down.
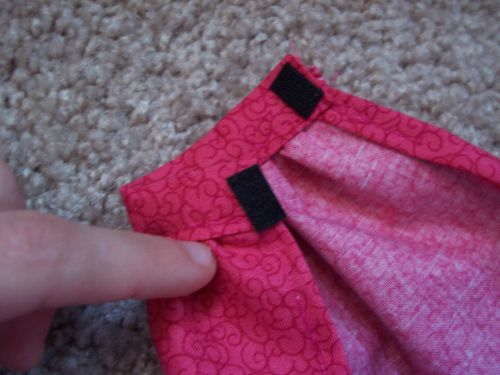
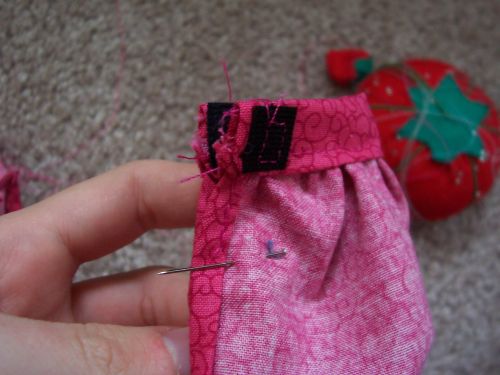
Now, add two small squares of velcro, one to the inside of the sleeve and one to the outside, directly on the cuff. Stitch it down.
Do the same to the other sleeve. Let's leave that for a while and start on the skirt. First, hem the skirt.
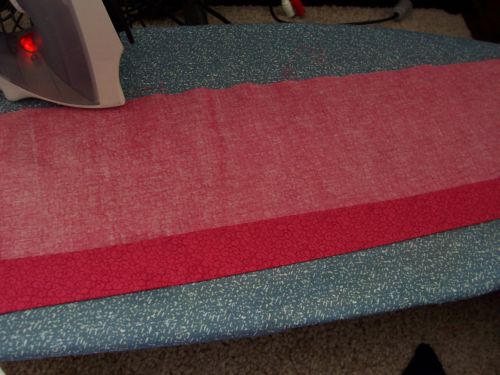
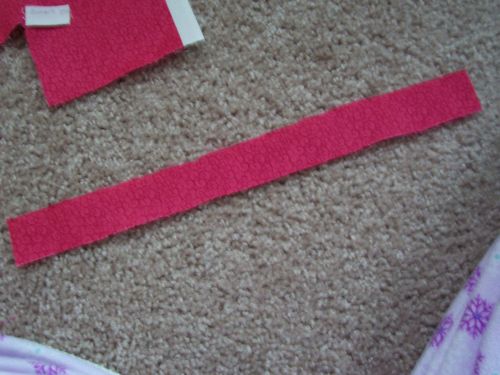
Grow stripes are irritating. This is the way I've found to make them turn out nice, but it's long and troublesome. Press the bottom of the skirt up toward the inside about an inch or an inch and a half.
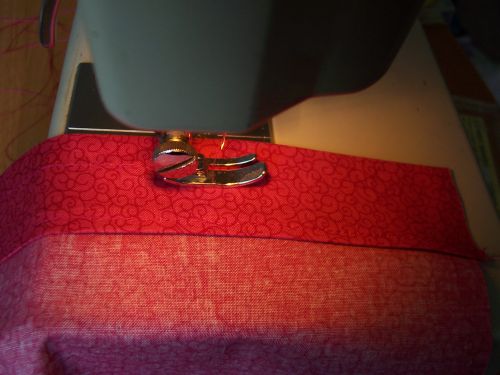
Stitch it down. Give yourself a quarter to a half inch seam.
Now, iron the seam so that the right side is sticking out and you've got a 'lip' on your skirt -- that's the grow stripe. Repeat for every stripe you need.
Stitch the shoulders together of the bodice like you normally would.
Gather the non-cuffed edge of the sleeve, then insert into the arm hole and sew it up as normal.
Sew the sides and arms up like normal, but remember that hem on the side of each sleeve? Sew UP TO but NOT over that hem. That gives Kirsten room to velcro her cuff together. (If you're lost, go get Kirsten's meet dress and look at the sleeves.
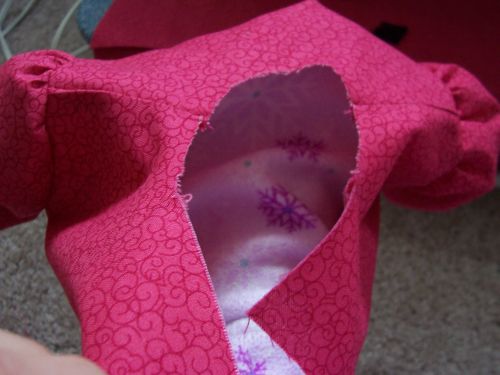
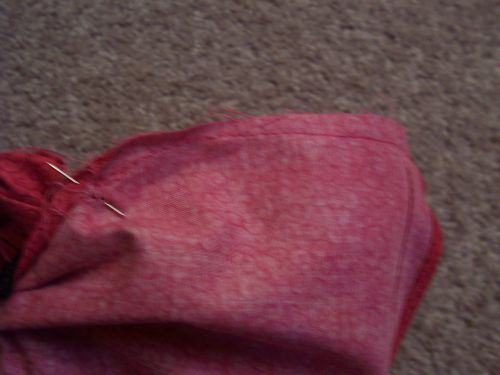
Let's make the collar now. See this neck hole? Measure the length, then cut a piece of cloth that long and 3/4 of an inch wide. Press it in half. This is your collar.
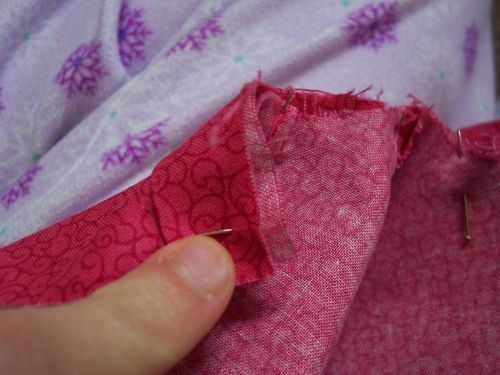
Pin the collar so that the fold is DOWN, and so that the raw edge matches up with your raw neck line. Stitch it down, then press it up.
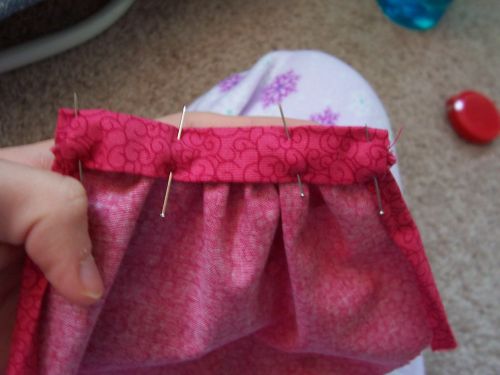
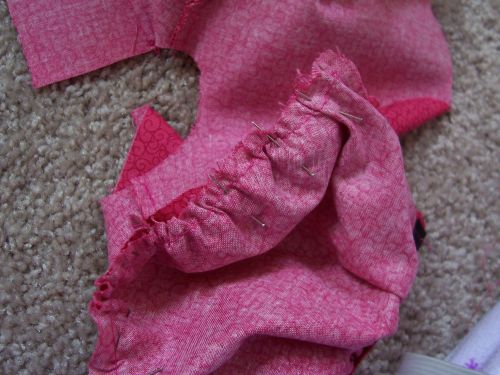
Okay. Sleeves, collar, skirt ... we've got a lot of little pieces put together. For the big finish, go get your waist band. We've got to take EVERYTHING and gather it so that it fits this sucker!
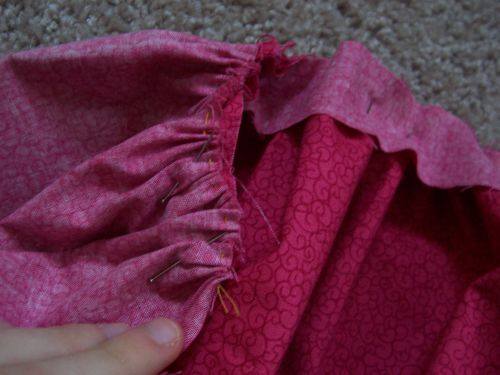
Gather your skirt first, then pin it right sides together to the waist band. Stitch, then press. Now, gather your bodice up, pin it right sides together to the waist band, stitch, then press. You might gather the whole bodice, by the way, or choose to get fancy and gather just the sides or just the middle.
You should wind up with this, more or less.

Finish it like normal. For those not in the know, take the left piece, fold it over twice, then pin velcro over it. Take the top piece, fold it over once, then pin velcro over it. Please assemble everything on your doll so you know it fits before you stitch it down!
When that's done, stitch the ends of the skirt together. You're done!
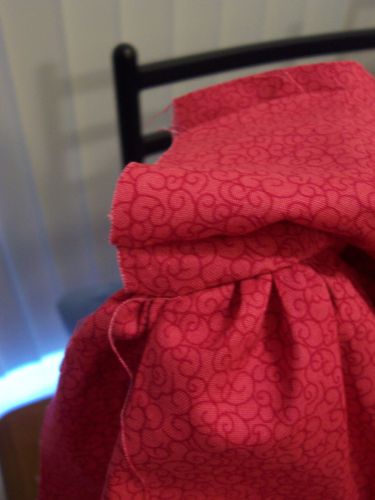
There's several examples of this project completed on this site. Here is one.