Sleeves
Sleeves are tricky, and you're going to mess them up the first few times you try. Don't freak out, just keep working on it! You'll figure it out after a few tries.
Have a poor MSPaint diagram:
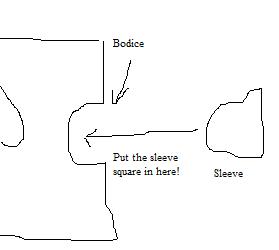
There should be a round curve cutting inside the bodice, with its middle at the shoulder seam. This is the arm hole, but I usually call it the arm pit because I'm goofy. The curved edge of your sleeve fits there.
The middle of the curved edge of your sleeve fits right at the shoulder seam. To mark this, I usually just use the quick and dirty method of folding the sleeve in half, finding the middle, then sticking it inside my mouth and blowing hard on it. This makes a crease that will least a few seconds, but will disappear. See? No one has to know that you stick your sewing projects in your mouth.
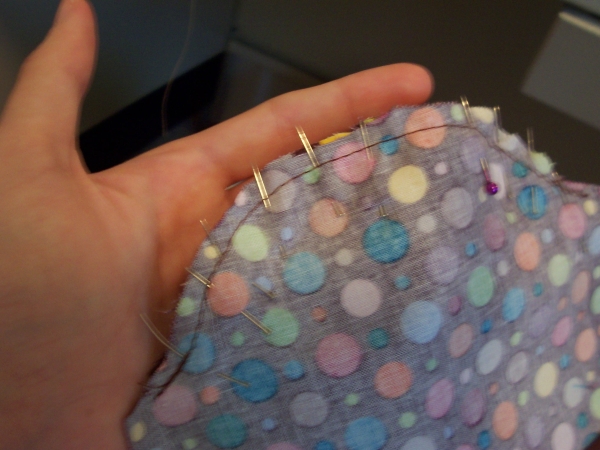
Pin the middle of the curved edge to the shoulder seams, right sides together.
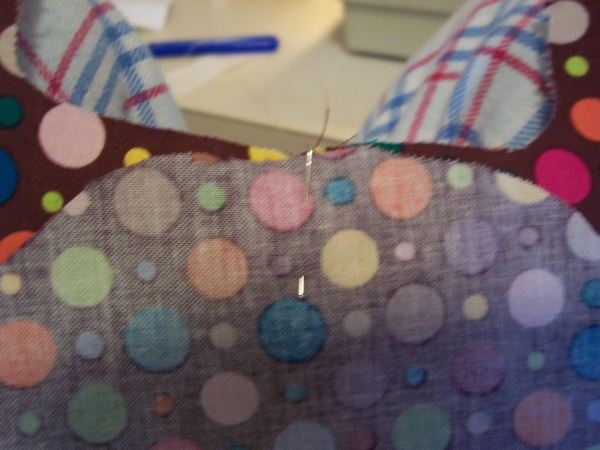
This next step in real sewing is called easing, but it really should be called "forcing". Pin the edge of the curved edge around the curve of the arm pit of the bodice. This step is aggravating, and it's going to take a few tries the first time you do it.
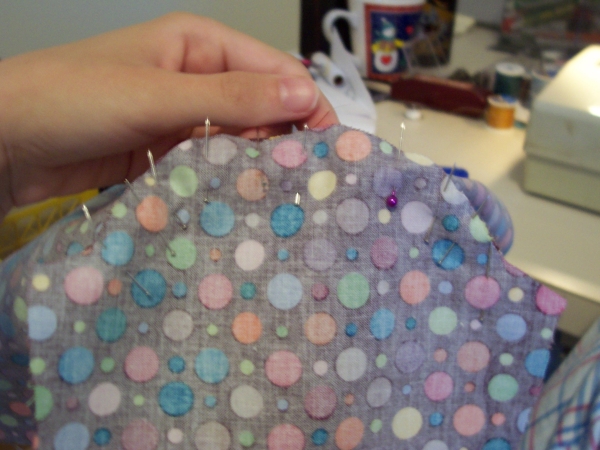
It almost kind of looks like a sleeve now.
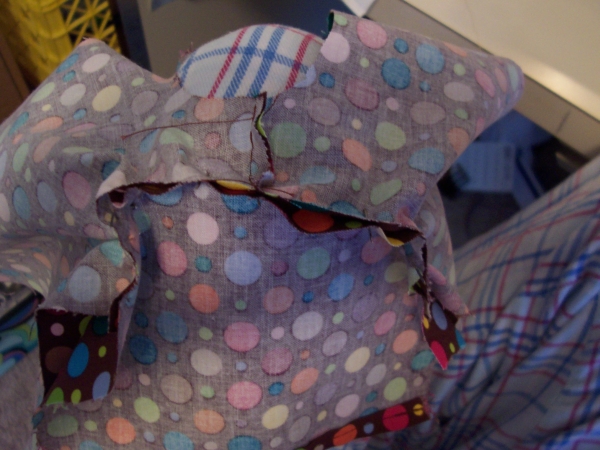
Sew along the curve. A straight stitch is fine (and seriously, your doll won't ignite if you leave an edge unfinished), but if you want, you can zig zag stitch to finish the edge a little more. If you've got a serger handy, use that. I don't own a serger. ("Bean, how do I know if I have a serger?" -- Trust me, if you've got one, you'd know about it.)
Unpin everything and continue making your project. There, it wasn't that bad, was it?