Reversible Wrap Around Skirt
Don't get scared because I said reversible. Reversible is easy.
This is historically accurate for someone in the 1970s. Skirts were long and thin instead of short and fluffy like the ones today, so keep that in mind.
You'll need:
 Cloth -- I recommend cotton, two different kinds.
Ribbon -- You can sub in cloth if you want to,
but keep in mind you'll have to finish far more raw edges.
News paper -- We're going to draw our own pattern!
Don't get scared, it's not hard. Sewing supplies
-- Thread, needle, scissors, machine if you want it.
Measure around your doll's waist and add a good two inches. This is your width measurement.
Measure from your doll's waist to almost her ankles. This is your length measurement.
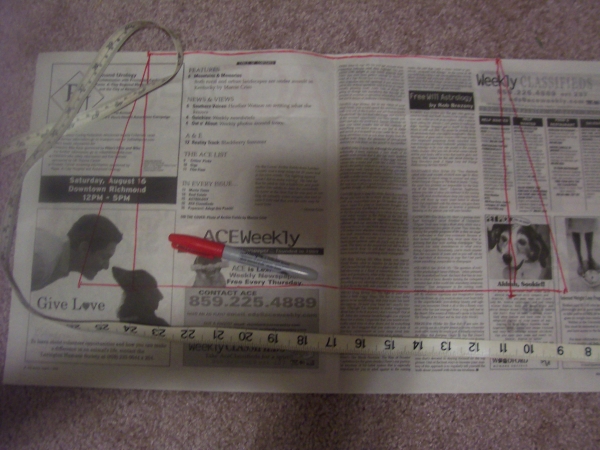
Now, on your news paper, draw a rectangle that measures your width by your length.
Let's make that rectangle into a trapezoid. Take the bottom width line and extend it out away from the rectangle an inch on both sides. Connect your new endpoints up to the top corners. Confused? Look at mine:
Cut out the pattern and round one corner off. Take your cloth and put it together by the right sides, then place the pattern over it. Pin it, cut it out.

Now, starting at one top corner, sew down to the bottom, along the bottom edge, and back up to the top, leaving the top edge open.
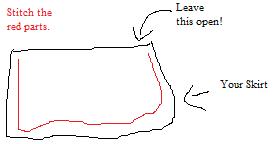
Turn, press, set aside for the moment.
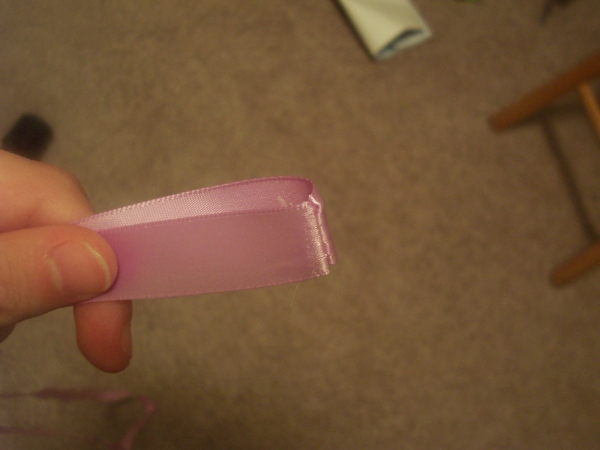
Take two lengths of ribbon at least three times as long as your doll's waist measurement. Sew them both together at the ends, right sides together. You'll be forming a giant loop, or an O. Press it flat at the ends so you get a squished O.
Now, find the middle of your ribbon loop. Line it up with the middle of the top edge of your skirt. Place the top edge of the skirt inbetween the two ribbon pieces.

PIN IT. PIN IT PIN IT PIN IT PIN IT. It's going to want to come loose, but you're too awesome for that. Pins!
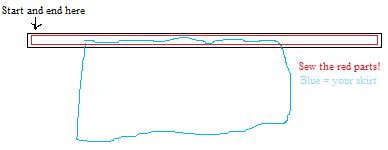
Start at the top left corner and top stitch down the top edge of the ribbon. Top stitch down the end, then come back up the bottom edge of the ribbon. Finally, pivot and stitch right back up to your starting point.
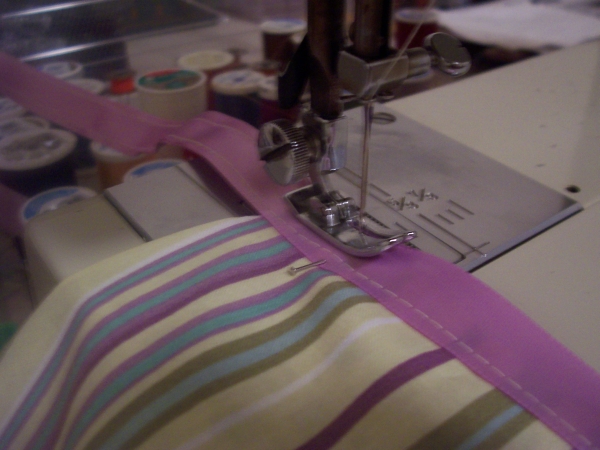
Lost? You're essentially stitching a rectangle around the edge of the waistband to trap the skirt inside.
Now, an inch in from the edge of the skirt piece, place a button hole. I can't help you here, young padawan. If you're using a sewing machine that does button holes, consult the manual. If you're going at this by hand, consult this YouTube video that I didn't make for help.
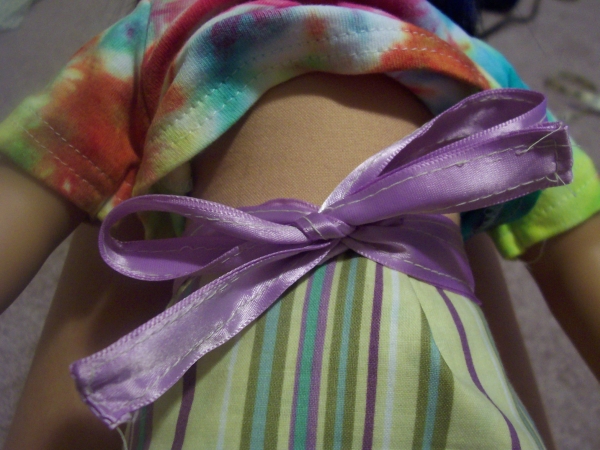
Once you've done that, you're actually done. To install your skirt, wrap it around your doll's waist and pull one end of ribbon through the button hole.
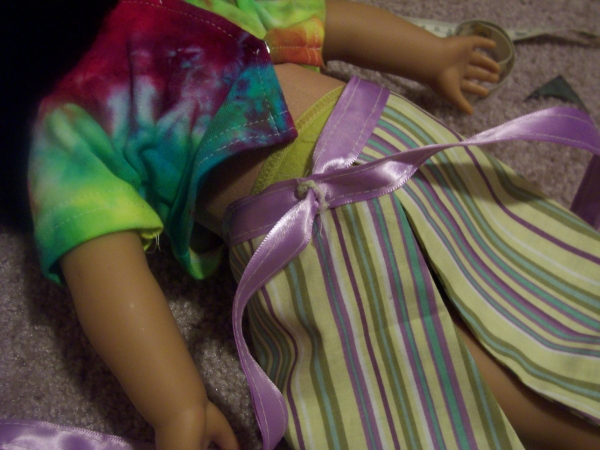
Then, tie in front to finish.