Molly's Pajamas
These are really popular for modern dolls and for Molly herself. We're going to add piping because we're cool like that.
You'll need:
 Cloth -- Don't let me catch you using quilting
cotton. Go into the pajama cloth section and get yourself some decent flannel
or satin or what have you.
Cloth -- Don't let me catch you using quilting
cotton. Go into the pajama cloth section and get yourself some decent flannel
or satin or what have you.
Sewing supplies -- Thread, needle, scissors, machine
if you want it.
Optional but highly encouraged -- Piping. You can
buy it from the area where they sell quilt binding.
Don't freak out about piping! It's not hard. It's not! You've just got to use a little grey matter to get it to work right. People act like it's the hardest thing ever to use in sewing, but it really isn't.
Sometimes American Girl wusses out and trims their items with either ribbon pressed in half or doubled over satin. That is the weenie way to do it. We are not weenies. Buy the piping.
Also, you're gonna need the Molly patterns, and you're getting them from AG Playthings.
Print out the section of Molly's patterns that have the pajama patterns. Gleefully ignore Pleasant Company's directions; they're usually poor or confusing or both anyway.
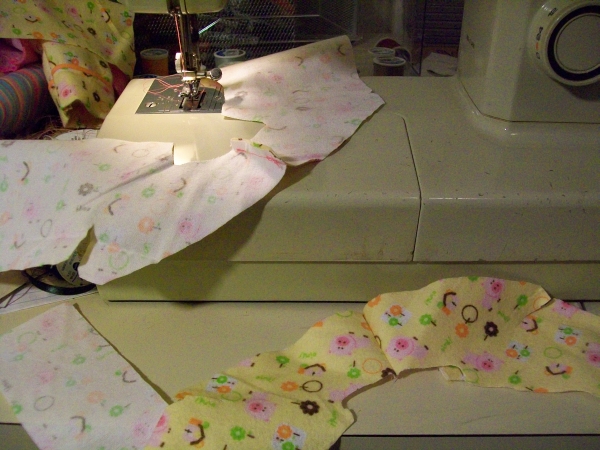
Cut the patterns, then cut your cloth. I cut out four rectangles for cuffs, too: two the width of the sleeves and about two or so inches long, and two the width of the pants about two or so inches long. Speaking of the pants, you can use their pants pattern if you really want to, but I decided that I liked my pants pattern better and just used it. It'll come out the same in the end, but I know my pants pattern works, so. (I left off the pocket and pajama ties. If you want to throw them back in, they're really easy to figure out.)
The interfacing and the two shirt fronts fit together to make a curve. Sew them together.
Now. Let's talk piping.
Quit freaking out! I said not to do that!
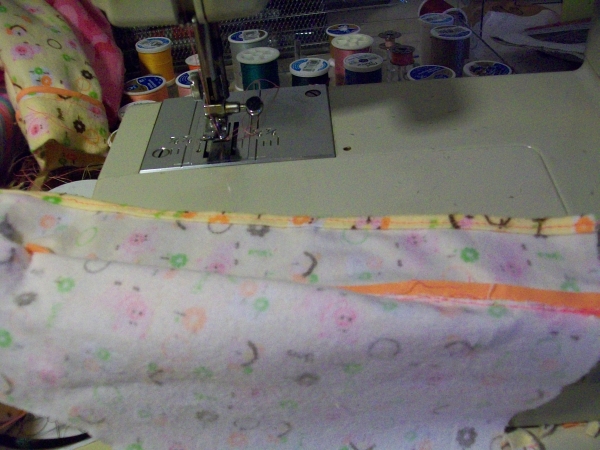
More or less, to get piping onto the shirt part of the PJs, we're making a piping sandwich. Lay the outside of the PJs fac up, then lay the piping WITH THE ACTUAL ROUND BIT (THE PIPE) FACING INWARD on top of it, on the edge.
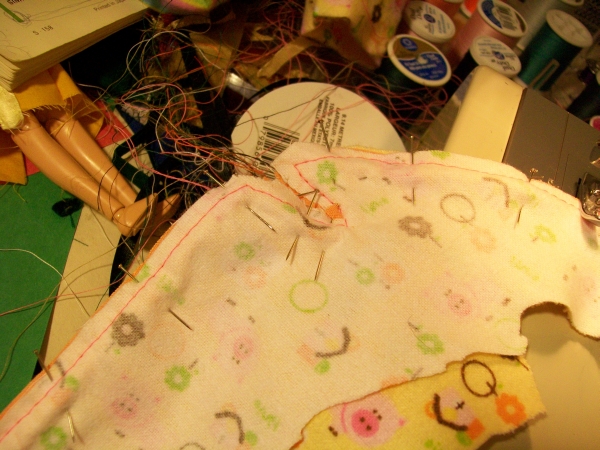
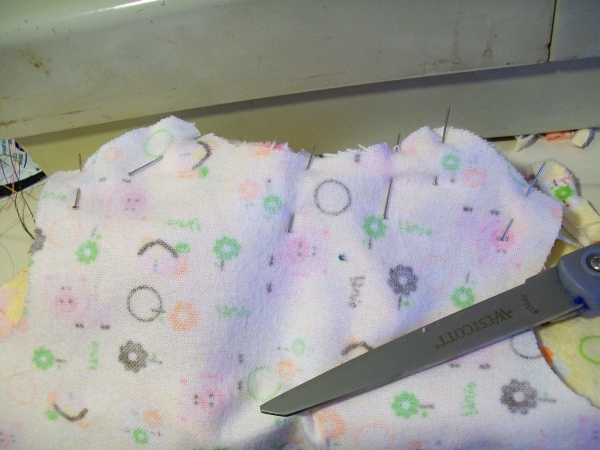
Cover with the interfacing face down and pin it. Go all the way around doing this, and do NOT skimp on the pins.
Sew around the edge. Get as close to the pipe as you can manage without your machine freaking out. Don't sew on the pipe itself, your machine will hate you and your shirt won't turn out nice.
Speaking of which, every time we sew with piping you might consider adjusting the pressure on your machine's foot so it doesn't press down so heavily. It will go through the machine easier. Look in your manual to find out how to do that. Every machine's different, and I don't know how to set yours. Mine is a little knob on the top.
Unpin, and fix any holes.
See? I TOLD you piping wasn't hard.
Before we go on, hem the outer edge of the interfacing.
Turn everything, and press it really really well. It won't want to press, so you're gonna have to fight it a little. Okay, a lot.
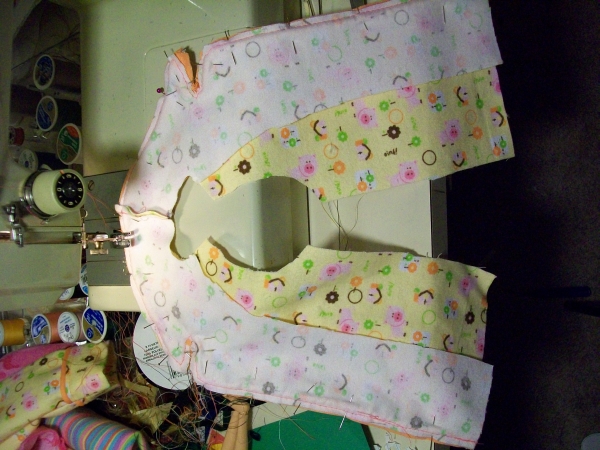
Now, there's a portion of the front of the shirt that we haven't dealt with. It looks a little like the shoulders and neck of a regular shirt. Surprise! That's because it is, and it matches up with the back piece. Pin it up, right sides together.
Sew it up.
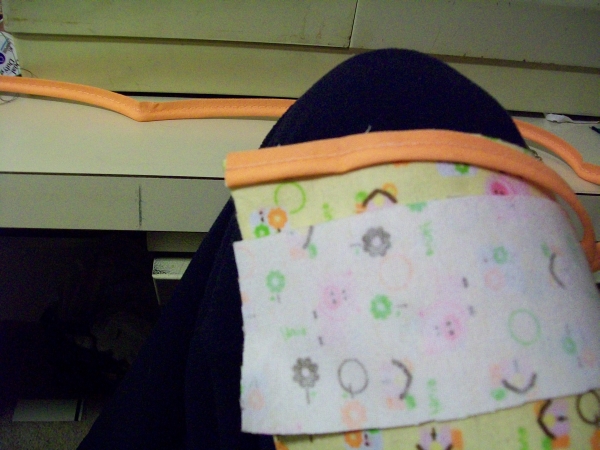
Quick, let's do some pants and sleeves. Remember those cuffs we cut? Put them face down on your ironing board, then press them so that the two long sides turn in. Press in half to turn them into a sort of hot dog bun.
Now, put them on your pant leg (or shirt sleeve, the process is the same), and stick a piece of piping in there. Sew it down. Do this for ALL your sleeves and pant legs.
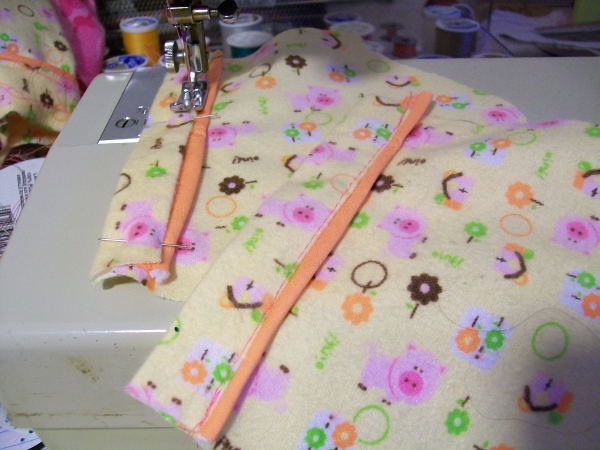
Put the sleeves in. I'd also reccomend hemming the bottom of the shirt at this point too. Your machine will throw a blue purple fit when it hits the piping, but just get it over. It's good for it. Builds character. Don't forget the pants! They go together like they always do.
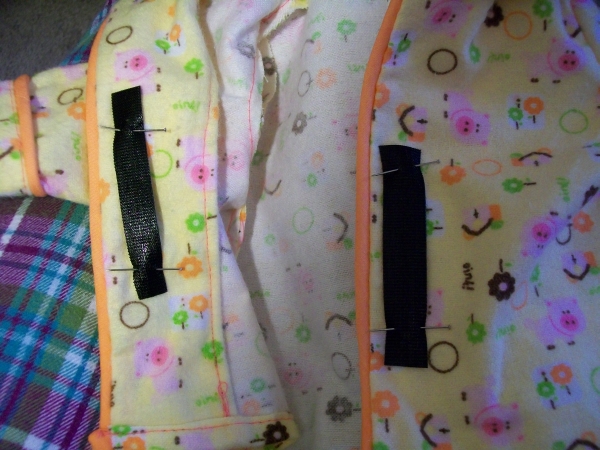
Now, Velcro. Put a piece on the outside of whatever shirt side you want to be under, then put a piece on THE INTERFACING ONLY of the shirt side you want to be over. Don't sew that last bit to the outide of the shirt! You'll have a huge rectangle stitched onto the outide of your pajamas that more or less screams "THIS PERSON DID IT WRONG."
Sew buttons on the outside and you're done.
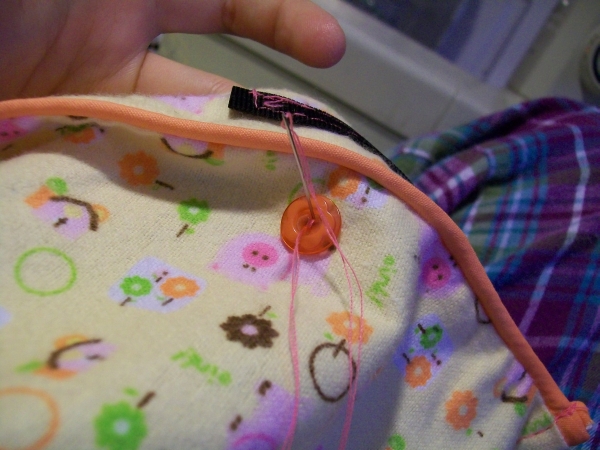
(Yes, we could have done button holes ... but I didn't want to raise your blood pressure too much. We did just get done with piping, after all.)