Raglan Shirt
Hey! Step one, DOWNLOAD THIS PDF FILE. This is your pattern! It's free to use!
Your supply list is the same as you'd need to make a regular shirt. You can totally do this out of quilting cotton, but if you're good with it, you could do it with a knit. (Just don't get a knit that wiggles around too much on you!)
CONSIDER: Most raglan shirts you've seen have sleeves that are a different color than the rest of the shirt, and a band color that matches the sleeves. So grab two colors.
The first time you put this pattern together, it'll be a little confusing. Don't freak out. Once you figure out what you're doing, this is actually easier than regular shirts!
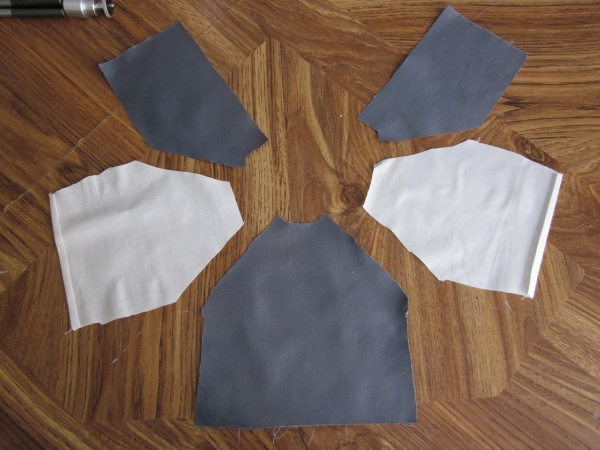
You got those patterns cut out yet? The sleeve pattern is on the fold, cut two. Cut one front on the fold, and then cut two backs like you would in the regular shirt tutorial. You end up with five pieces.
Hem the sleeves.
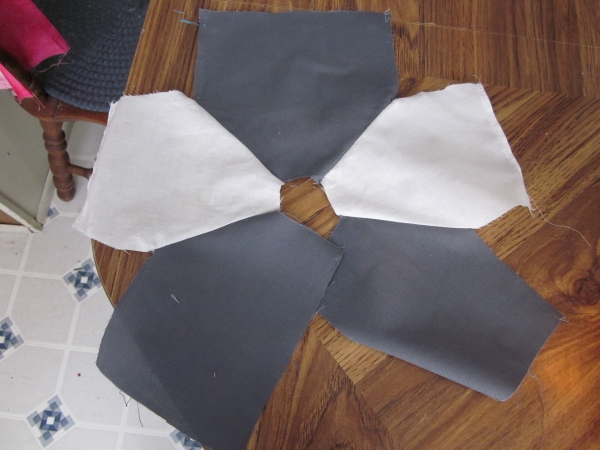
You notice how I have the pieces arranged in that first shot? That's exactly how you're going to sew them together. Match the sides up, bottom edges pointing outward, and sew them together until you get them in a circle.
Confused? That's okay. I've got a video here that I'm hoping will cure that.
I know the video takes you through this, but: match up the sleeves together, armpit to armpit, edge to edge. Sew up the sides, like in a regular shirt.

Now, put a band collar on it. (I know some people sputter at band collars, but they're totally appropriate here, much more than a narrow hem.) If you've forgotten, here's a one photo long tutorial:
Take piece of cloth, press in half, pin on, one seam, boom.
(Hey -- if the pattern works up too big on your doll,
you can alter the pattern by shaving a little bit of the folded edge
off of the front piece. Start by doing a little bit at a time so that
you don't go TOO small.)
Ta da! You're done!
But what does it look like when it's done?
Hey! If you finish this tutorial, submit your work to the Gallery!