Basic Shirt
How to make a shirt. Not too bad, right?
In the photos, I made my shirt long to make a tunic. Feel free to steal this idea.
You'll need:
Cloth -- Cotton is good, or whatever you want. A fat quarter or a
half yard will be fine.
Patterns -- All you need is a basic bodice pattern (just the front)
and a sleeve pattern.
Sewing supplies -- Needle, thread, scissors, whatever you need.
Before we cut the pieces out, consider this.
Most patterns (especially the sort you get in craft stores, and ESPECIALLY Simplicity patterns) have a fundamental flaw in their shirt patterns. For some reason, the front pieces and the back pieces never line up well enough to fit together.
Since you're sewing for something that has more or less a cloth sack for a body, you don't have to account for curves. Therefore, the easiest way to cut the back is to ignore whatever back piece the pattern gives you completely and cut it from the front pattern.
However, if you're going to add velcro or snaps or any kind of closure, you still have to alter the back to close. This is how we're going to do it.
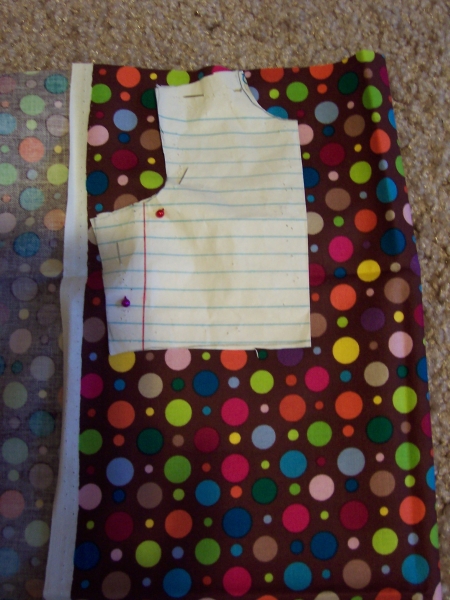
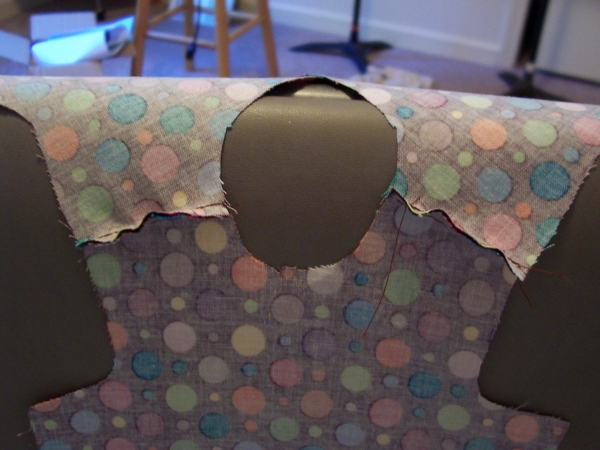
Take your bodice pattern and fold it in half down the middle, length-wise. Now, take your cloth and fold it. Place the folded edge of your pattern about an inch and a half away from the folded edge of the cloth. Pin it. Yes, this is going to give you a spasm if you're a very exact person. You'll get over it.
Line the scissors up with the neckline at the edge, and cut toward the pattern.
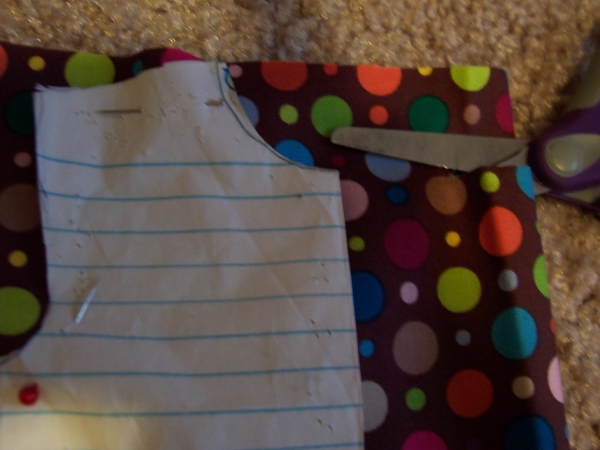
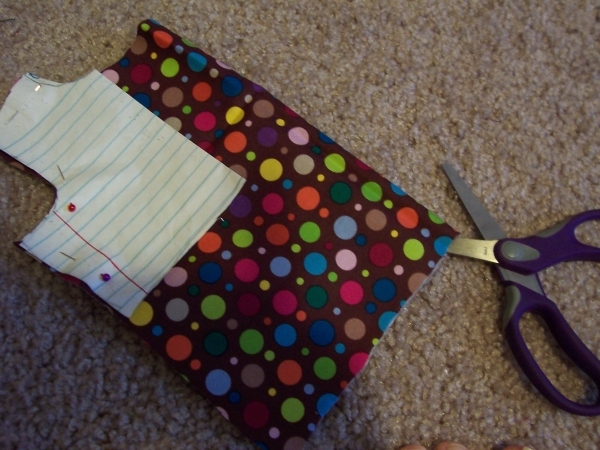
Hit the neck line, then continue cutting out the pattern as usual. You'll notice I cut further down past where the pattern ended. This makes the shirt longer, and is the easiest way to make a tunic.
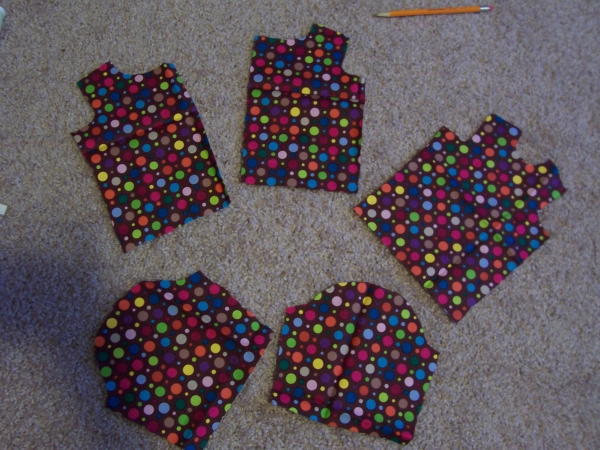
Cut two backs, one front, and two sleeves.
Hem the sleeve edges.
Sew the back pieces to the front pieces at the shoulders, right side together.
Put in the sleeves. Now, turn the shirt inside out and fold it right sides together so that it looks like a shirt. The hems of the sleeves should match up, the arm pits should match up, and the seam along the sides should match up. Pin these places well!
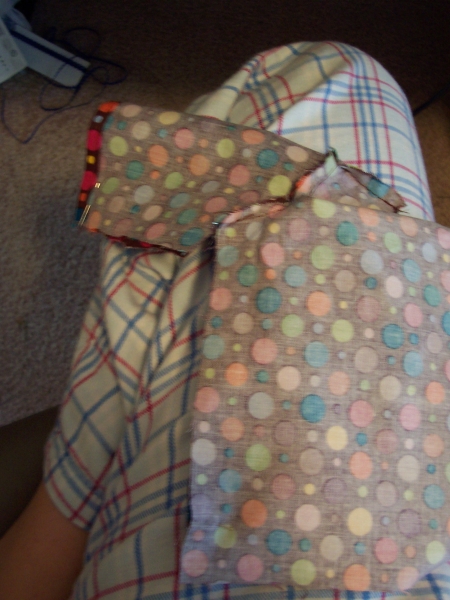
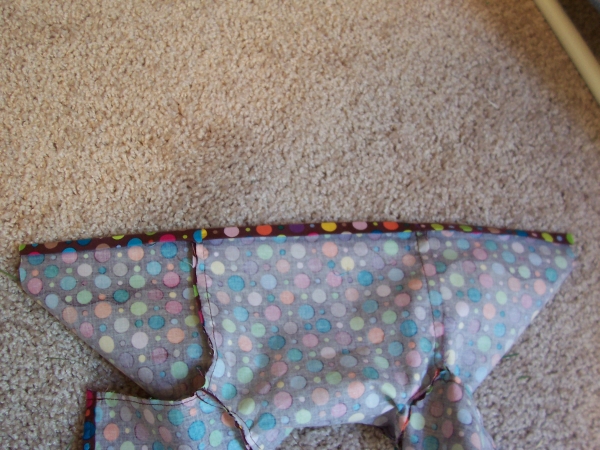
Start at the sleeve hem, sew to the arm pit, pivot, then sew down to the end of the shirt. Or, take those directions (end - arm pit - sleeve cuff) in reverse if it fits better in your machine that way. You may wind up with a huge seam allowance in the sleeve, which is fine. Feel free to trim it. Here's one sleeve trimmed, and the other not, so you can see:

Press a hem along the bottom edge of the shirt. Stitch it down.
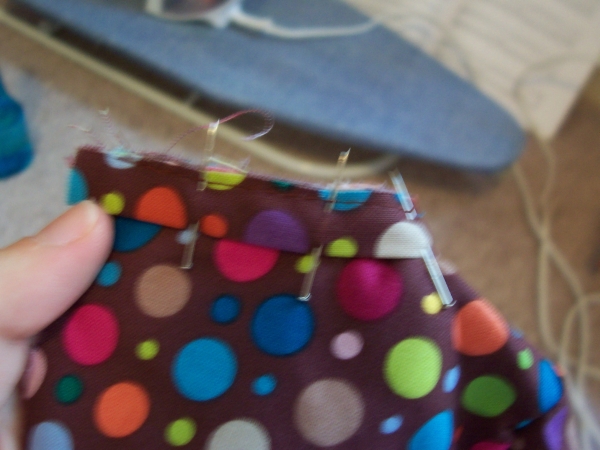
For the neck line, if you were feeling tricky, you could always try to press a hem up there. It will be harder, but possible. You could also do a circular hem if you felt like doing something nail-bitingly hard. If you have a collar pattern, go ahead and add the collar. One really common collar is the mock turtle neck. Measure the length from one edge of the neck line to the other. (I almost always find that this is nine inches.) Cut a piece of cloth that is that number long and about an inch and a half tall. Fold it in half, right sides out, and press it. Pin it along the neck line, with the raw edge facing up. Stitch it down, then press it so it stands up.
Add velcro, and you're done!
