Totally Not The Gardening Outfit
Seriously, you guys, you know that retired Gardening Outfit? This is totally not that, I swear.
It's a good thing that's retired, though. You certianly weren't thinking of buying it, were you? Of course you weren't. It's retired anyway, it probably goes for one quatrillion on eBay. Why pay that, when you can pay two buck's worth of cloth at JoAnns and get the same thing made in colors you like? You could even make it longer or shorter if you wanted. Hell, make it floor length, I don't really care.
Err. A floor length quilting cotton skirt would be kind of nasty. Don't do that.
You need:
Cloth -- Quilting cotton will do you fine.
You'll need at least two different colors. The original uses a print
and a solid. You could use two solids if you want. If you use two
prints, use some sense in your design or you'll wind up with a plaid
pokadot floral mess. You'll need a tiny amount of each.
 CONTRASTING thread -- Something in a nasty color that DOESN'T blend in with your cloth.
Sewing supplies -- Pins, thread, machine, scisors, all that kind of stuff.
I'm mostly going to be concentrating on the skirt, because that's the one that's the major hat trick. Of course, the original had a tank top, which is another tutorial, but it's pretty quick to understand: cut out one bodice and one back like you were cutting out a shirt, but instead of doing sleeves and a collar, narrow hem the arm holes and the neck hole. See? Wasn't so hard.
Of course it's your outfit, so stick any kind of top you want on there. Here's the pieces you want for the bottom:
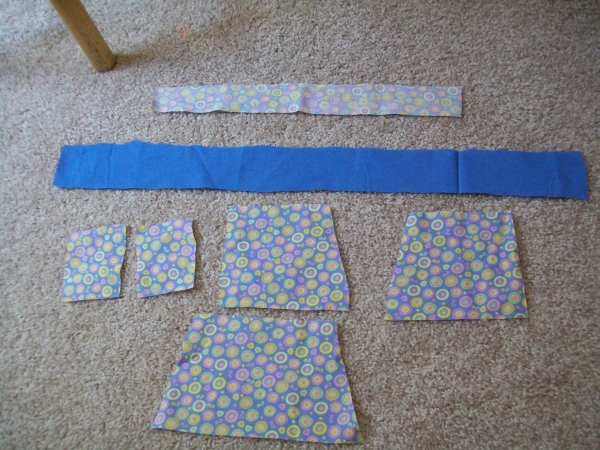
What you see here, from top to bottom left to right: one waist band, one ruffle (around 1.5 to 2 times the length of the hem of your shirt depending on how ruffle-ey you're feeling -- also, determine how long you want the ruffle and add an inch!), two pockets, two skirt backs and one skirt front.
You recognize how I cut that skirt, right? Yup, it's just an A line skirt. I'm going to set some sort of record for linking back to old tutorials.
Let us discuss the pockets, which are sort of not really jelly bean shaped:
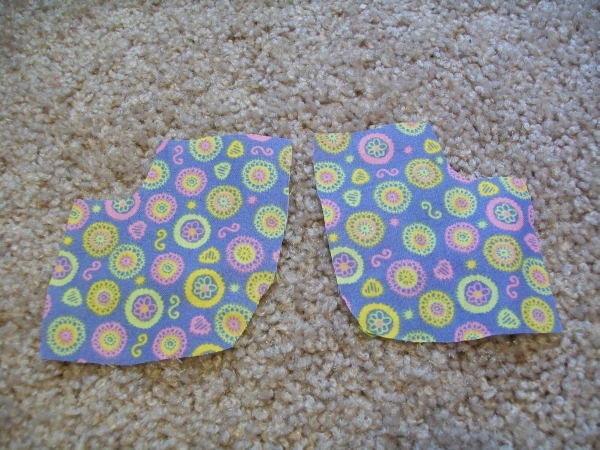
There are three ways of dealing with the pockets. The first would be to toss these, cut something more square, hem the top, press the sides, and top stitch a pocket to both sides of the front of the skirt.
The second would be to narrow hem the top of the jelly bean pockets, narrow hem the curved edge of the pockets, and then top stitch a pocket to either side of the front of the skirt.
The third method, and this is what I did, was to realize that your doll doesn't really need to carry her keys and her cell phone around, toss the pocket idea all together, and go about her merry way. Err, sorry, pockets on pants and skirts for dolls never excited me. Anyway, I left mine off, which is why there's no picture of me stitching them on.
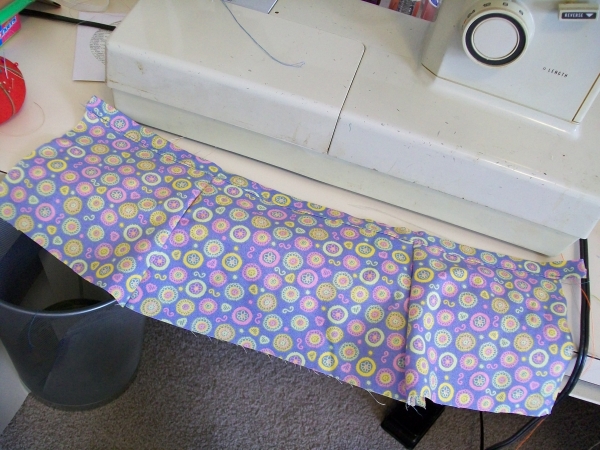
You went back and read that a line skirt tutorial, right? Good. Take the skirt parts and the waist band and sew them up like you know how. You're getting it to this point, before we put the velcro on:
Back to the case of the ruffle. Press a hem in one edge (that means double over twice!), and press the other edge down.
Stitch your hem down.
Take that contrasting thread, and, in BIG stitches, gather the skirt edge. (I know some people like machine gathering, but the end of this is going to go a lot faster if you gather by hand.)
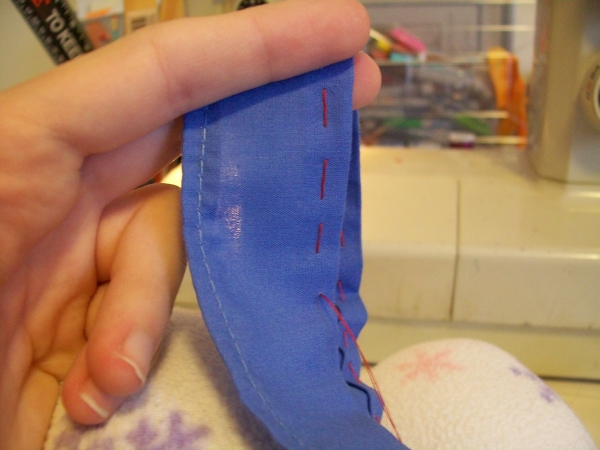
Tie off the end like you usually do in hand stitching or gathering. Don't freak out, we'll take care of it.
Pin it to the bottom edge of your skirt.
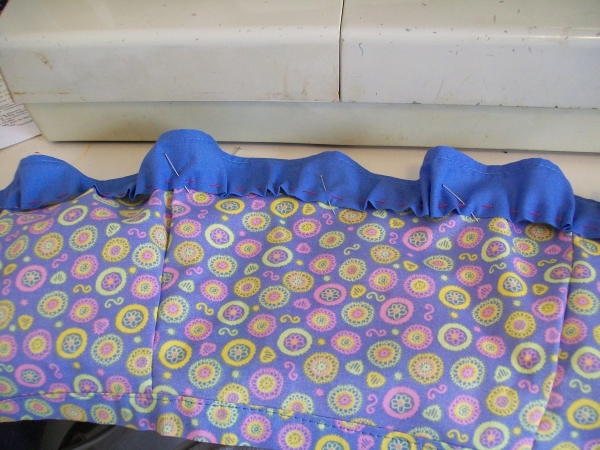
Top stitch that down.
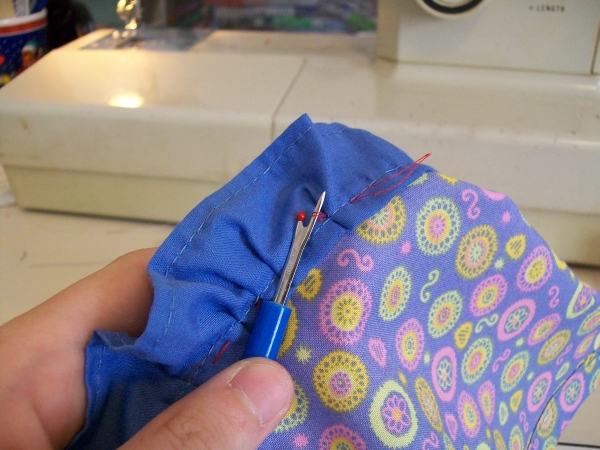
Take your stitch ripper and start cutting the thread. See why it had to be in a seperate color? It's so you can see it! If you're good, you can cut the thread once and tear the whole thing in one go, but otherwise, it'll take you a few ... um rips?
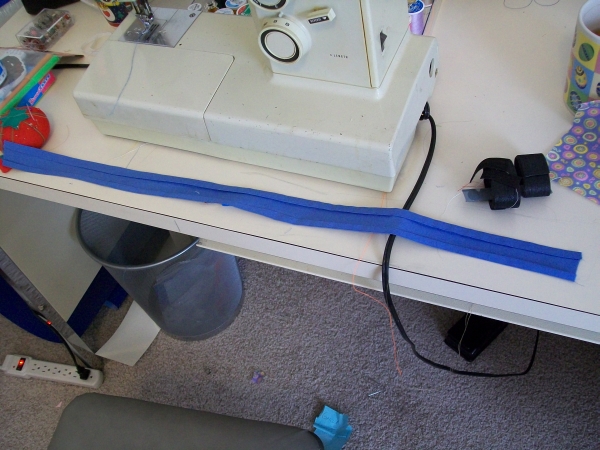
Finish with velcro and you're done.
Here's a picture of the finished piece.